Audio files, especially formats like .mp3, .m4a, .ogg, and .wav, are commonly used for podcasts and media content. WordPress makes it easy to add these files to your site in several ways. Below are three methods to help you add MP3 files manually to your posts.
METHOD 1: Upload Individual MP3 Files Directly into a WordPress Post
If you’re working with just a few audio files, this is the simplest approach.
Steps to follow:
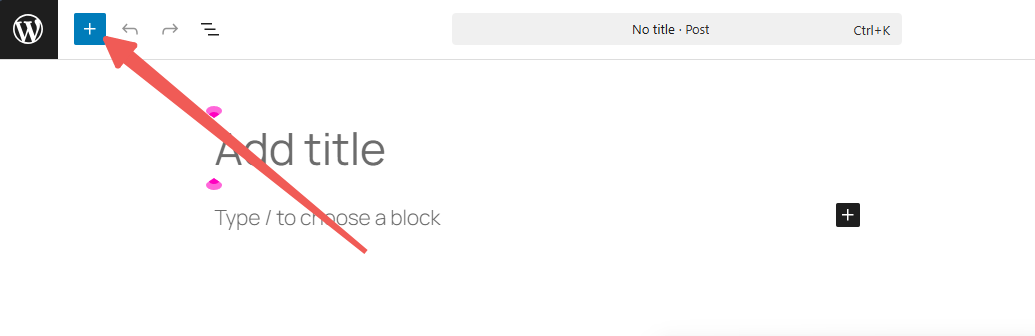
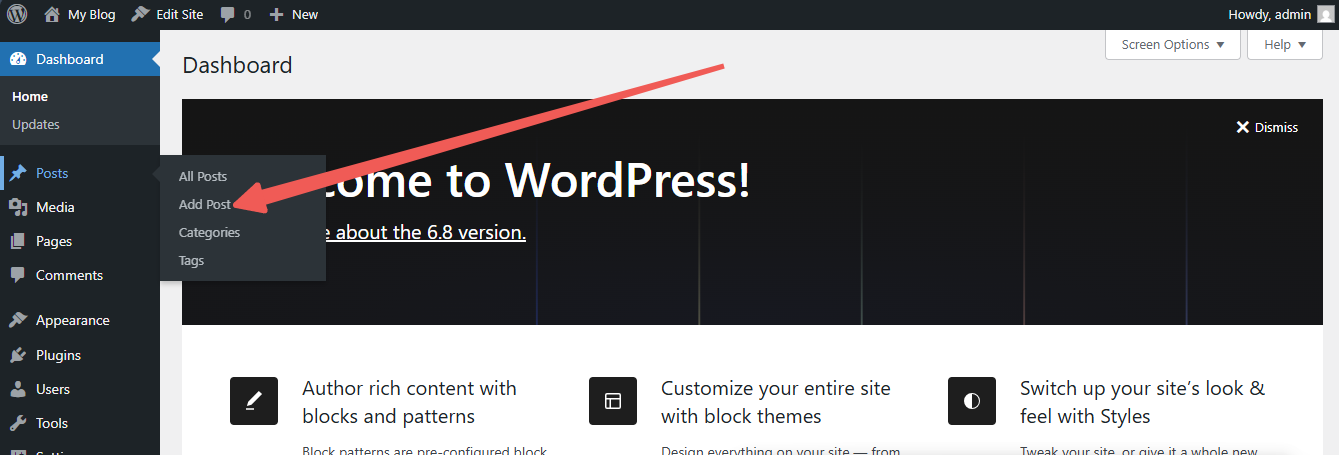
STEP 1: Sign in to your WordPress Dashboard.
STEP 2: Navigate to the left-side and click on Posts, then click on Add Post.

STEP 3: Click the + button at the top-left corner.
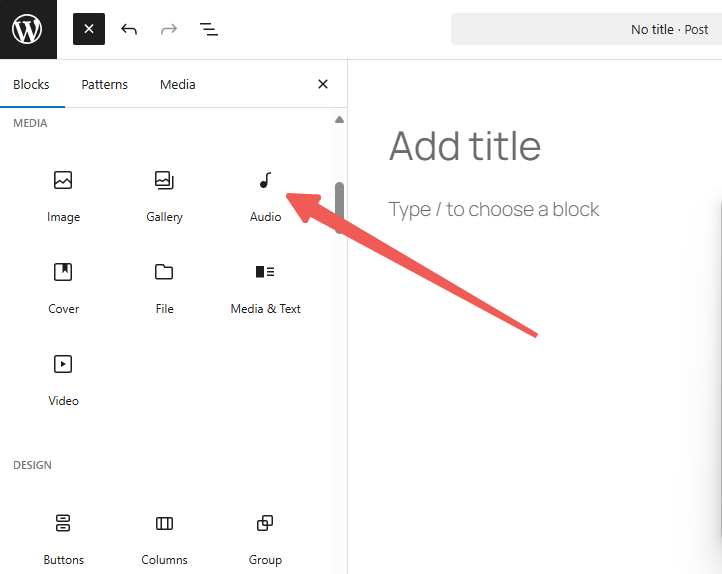
STEP 4: Select Audio.
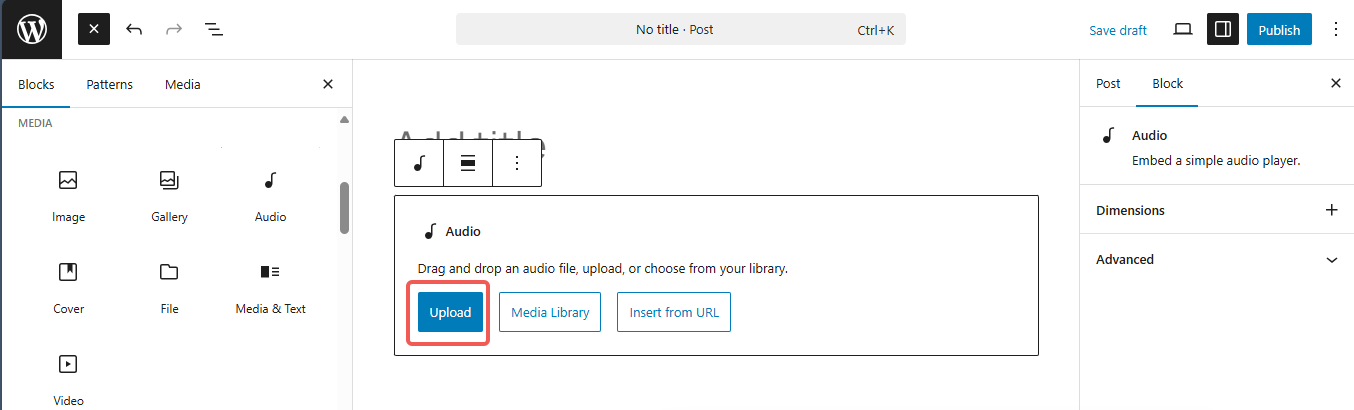
STEP 5: Hit the Upload button and either:
- Drag and drop your audio file(s), or
- Click choose files to upload from your library.
STEP 6: Once the files are uploaded, click on Write Caption, tap the link icon, and search or type the URL for your audio file.
![]()
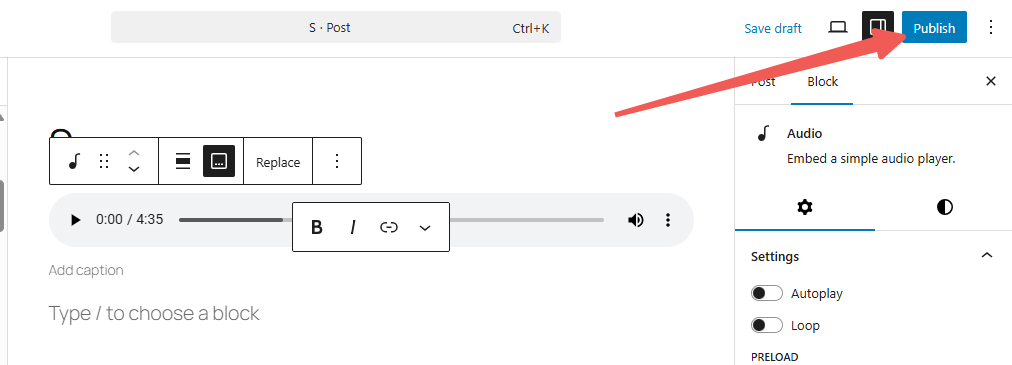
STEP 7: After finalizing the setup, click Publish to make your post live.
METHOD 2: Upload Multiple MP3 Files Using File Manager
This method is ideal when you have several MP3 files to upload at once.
Steps to follow:
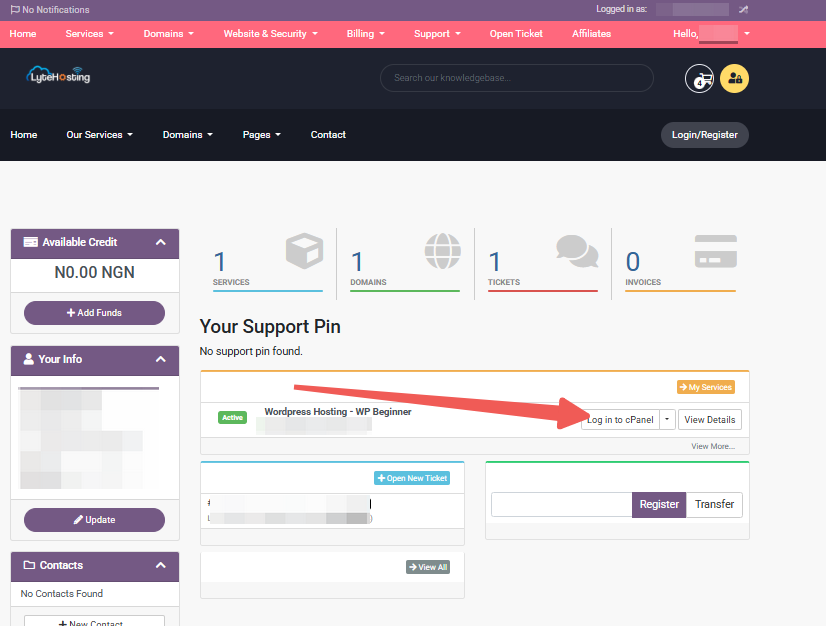
STEP 1: Log in to cPanel.
There are two methods to log into your cPanel.
- Method 1: Log in to your cPanel directly.
- Method 2: Log in to your cPanel through your Customer Portal.
Through your Customer Portal;
- Log in to your Customer Portal.
- Click on "Log in to cPanel".
- Method 3: Log in using the details sent to your Email.
Through your Email;
- When you purchase a hosting plan, your cPanel login details (including username, password, and cPanel URL) are automatically sent to your registered email address. Simply check your inbox (or spam folder), locate the email, and use the provided credentials to access your cPanel.
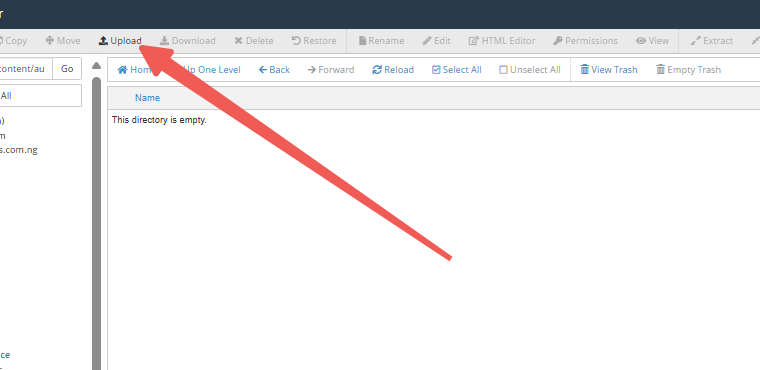
STEP 2: In the Files section, click on File Manager.
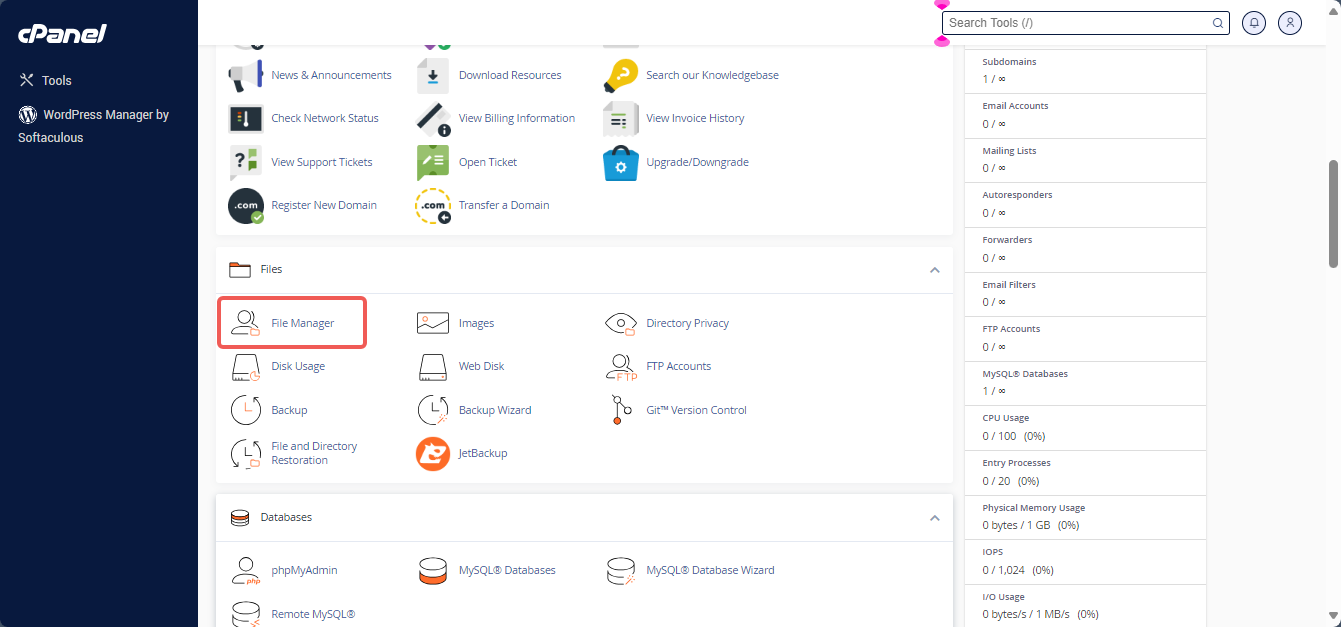
STEP 3: Navigate to public_html or the root folder where WordPress is installed.
STEP 4: Open the wp-content folder by double-clicking it.
STEP 5: Click + Folder at the top-left corner of the screen.
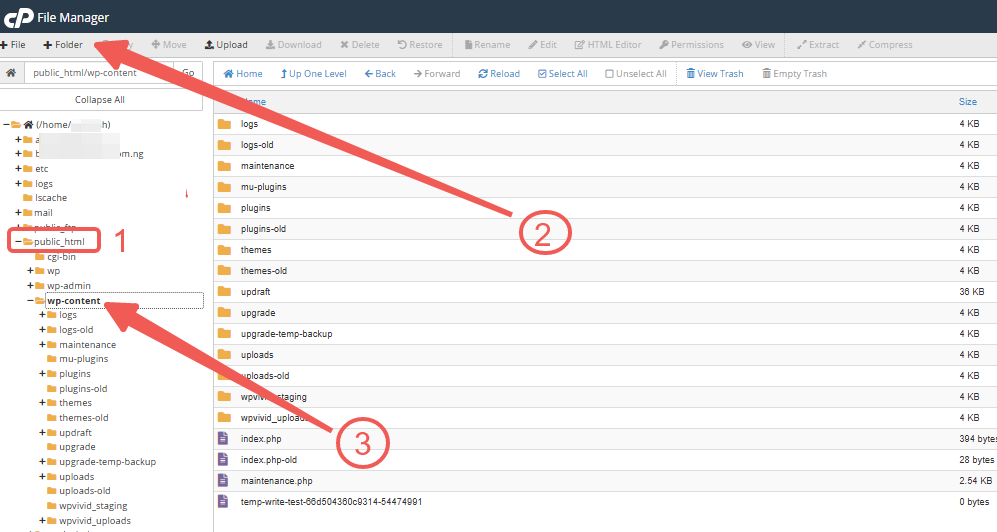
STEP 6: Name the folder audio (use all lowercase) and click Create New Folder.

STEP 7: Your new audio folder will now be located at /public_html/wp-content/audio.
STEP 8: Use the Upload button in File Manager to bulk upload your MP3s, or transfer them via FTP.
Tip: Use lowercase letters and remove spaces from your file names.
- ✅ Correct: thisisfreedom.mp3
- ❌ Avoid: This Is Freedom.mp3
STEP 9: Once uploaded, your file’s direct link will look something like:
www.yourdomainname.com/wp-content/audio/thisisfreedom.mp3
METHOD 3: Use a WordPress Plugin to Manage Audio Files
There are several plugins available that support audio file integration. However, LyteHosting recommends only using a plugin if you need a specific feature that can't be achieved through standard uploads. Some plugins may consume extra server resources, so use them with care.
Adding MP3 Links to a Post
To insert an audio hyperlink into a WordPress post:
STEP 1: Access your WordPress Dashboard.
STEP 2: Click Posts, then Add Post.
STEP 3: Write your content.
STEP 4: Highlight the text you want to use as an audio link.
STEP 5: Click the link icon in the text toolbar.
STEP 6: Enter the MP3 file’s full URL in the URL field.
![]()
STEP 7: Add a title for the link in the Title field.
STEP 8: Check the box for Open link in a new tab/window.
Downloading and Playing MP3 Files in WordPress
To download:
- Click on the three-dot menu beside the player, then choose Download and hit Save As.
To play:
- Right-click on the link and select Open in New Tab. Your browser should start playing the audio automatically.


