By default, cPanel provides a primary email account. However, creating a new email account is recommended for better organization and security. Here’s how to add or remove an email account:
Steps to Create an Email Account:
STEP 1: Log in to cPanel.
There are three methods to log into your cPanel.
- Method 1: Log in to your cPanel directly.
- Method 2: Log in to your cPanel through your Customer Portal.
Through your Customer Portal;
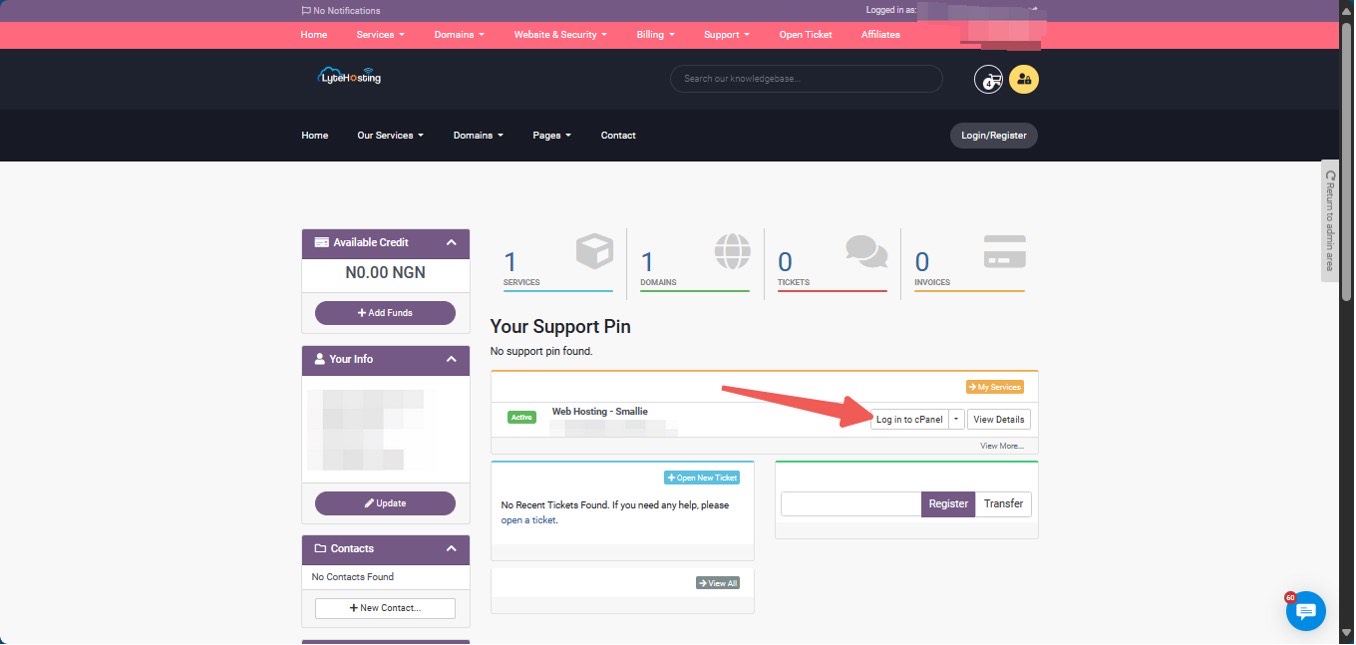
- Log in to your Customer Portal.
- Click on "Log in to cPanel".
- Method 3: Log in using the details sent to your Email.
Through your Email;
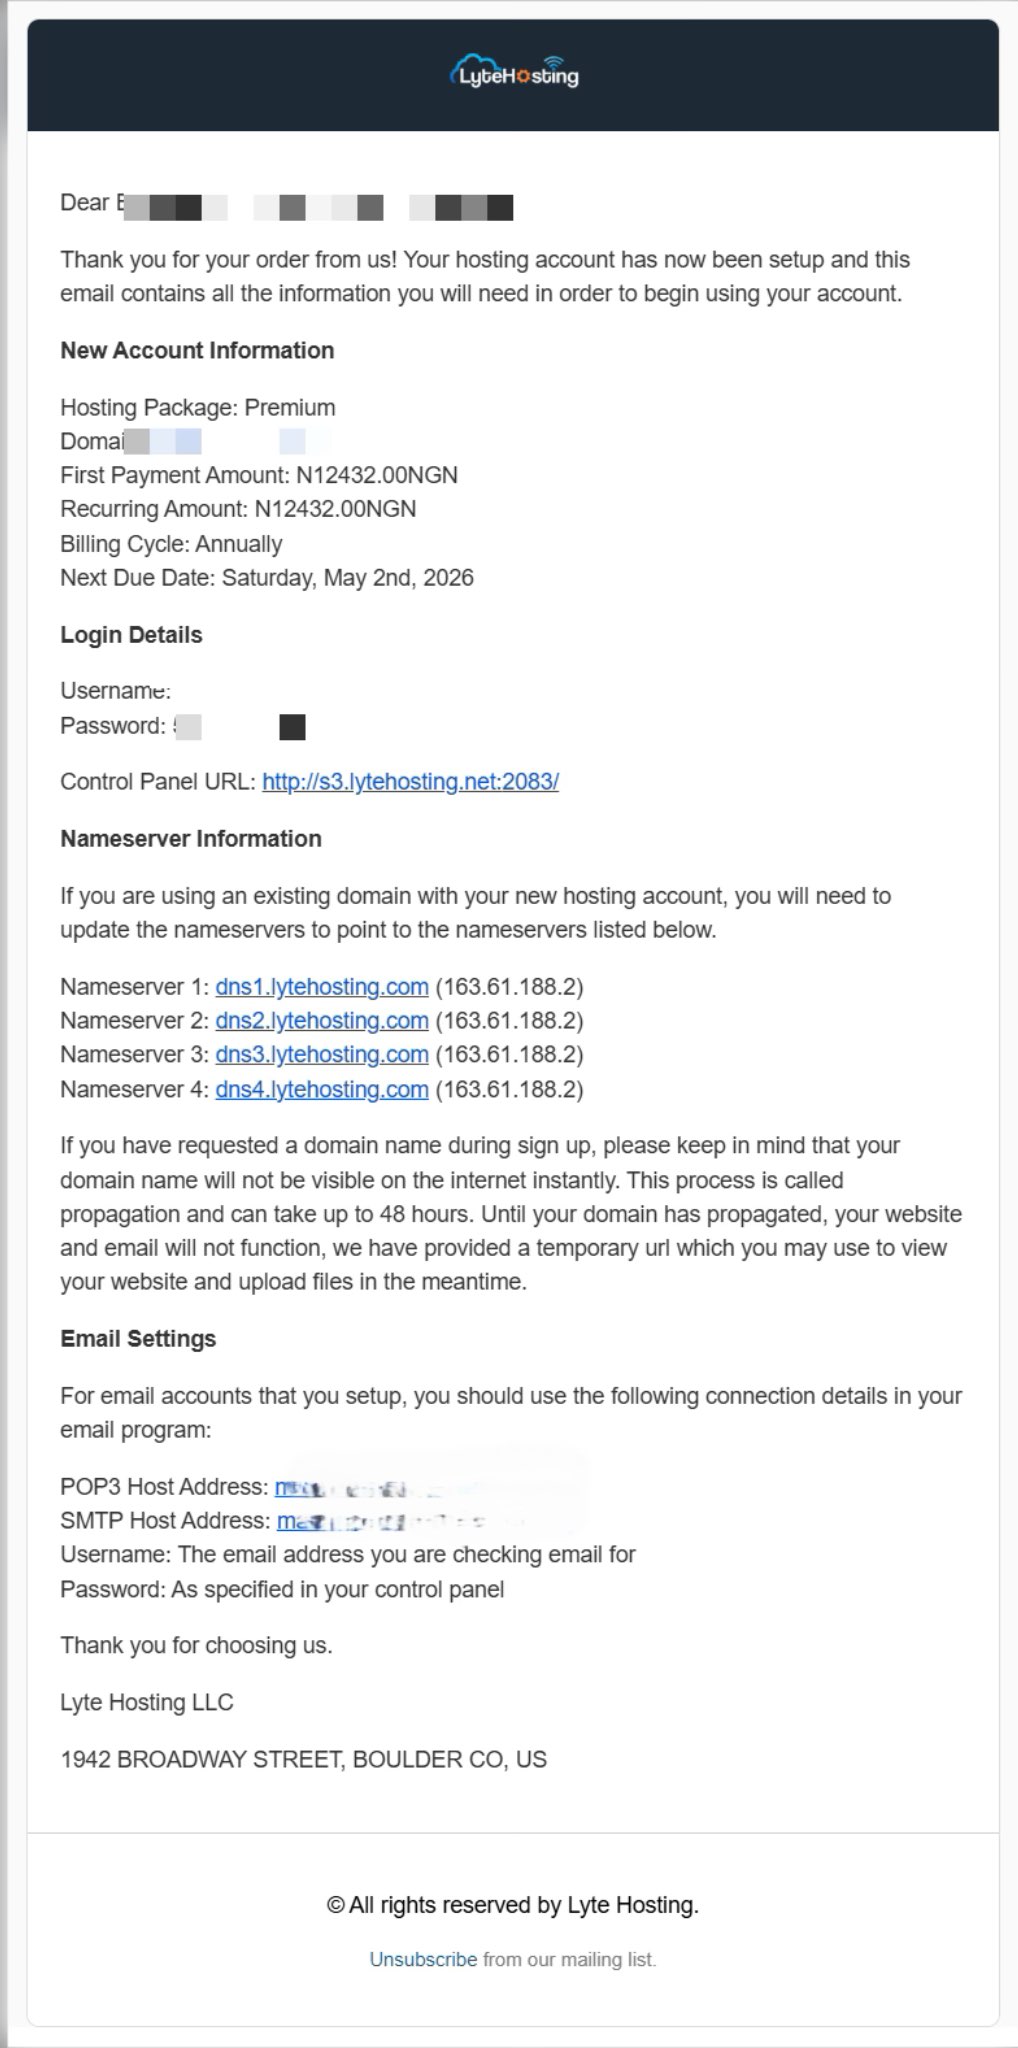
- When you purchase a hosting plan, your cPanel login details (including username, password, and cPanel URL) are automatically sent to your registered email address. Simply check your inbox (or spam folder), locate the email, and use the provided credentials to access your cPanel.
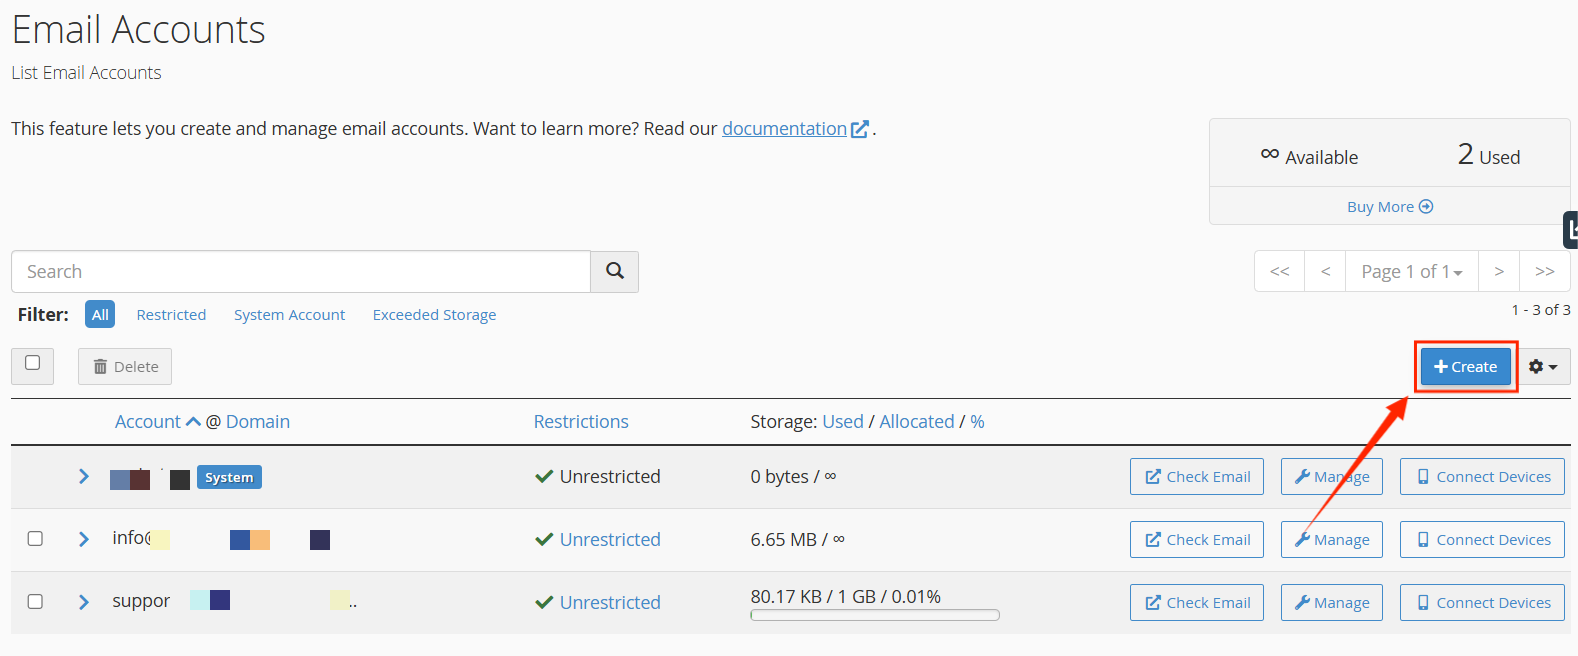
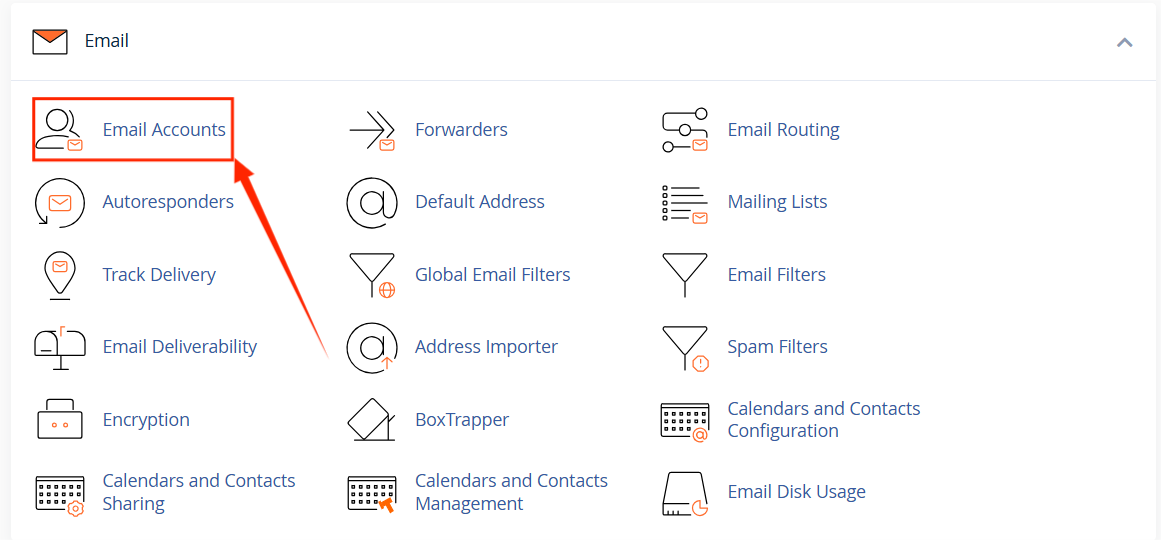
STEP 2: Locate the Email section and click on Email Accounts.

STEP 3: On the Email Accounts page, click on +Create.
STEP 4: Select the domain you want to associate with the new email account from the Domain dropdown menu.
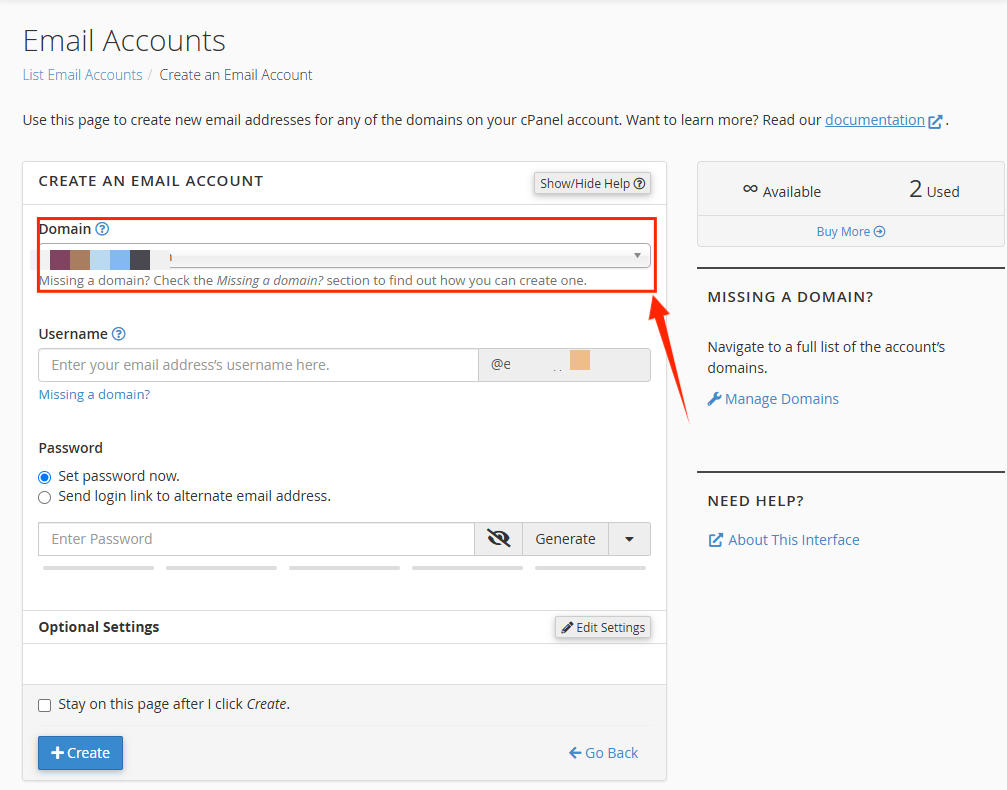
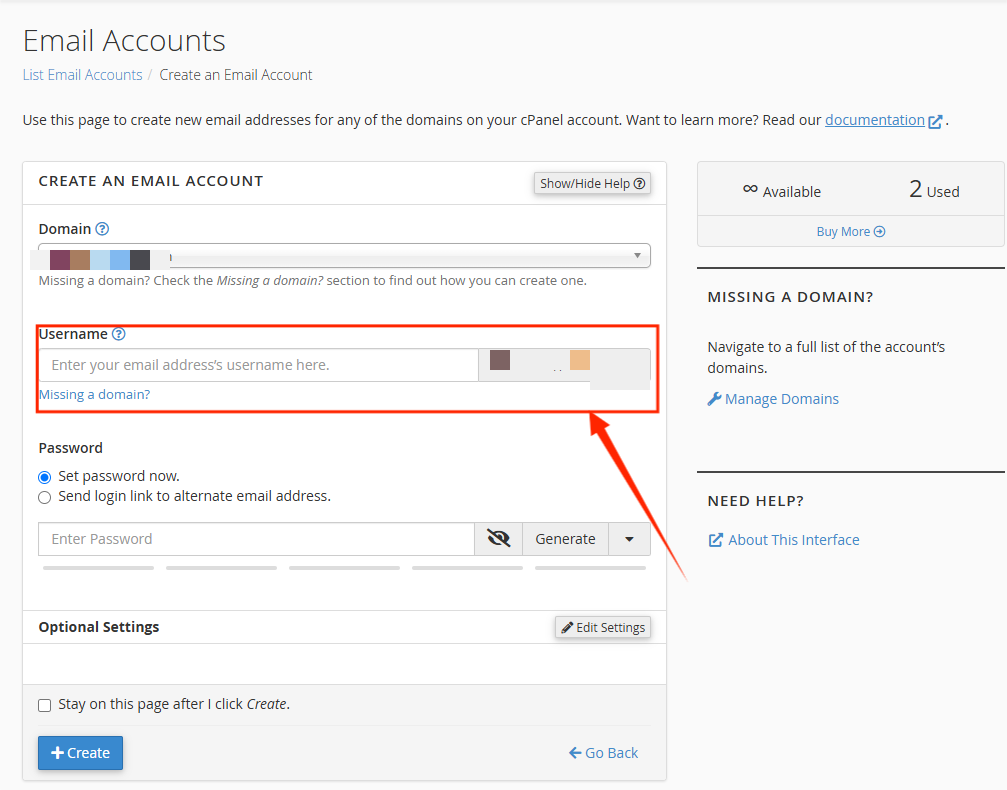
STEP 5: In the Username field, enter the desired email address.
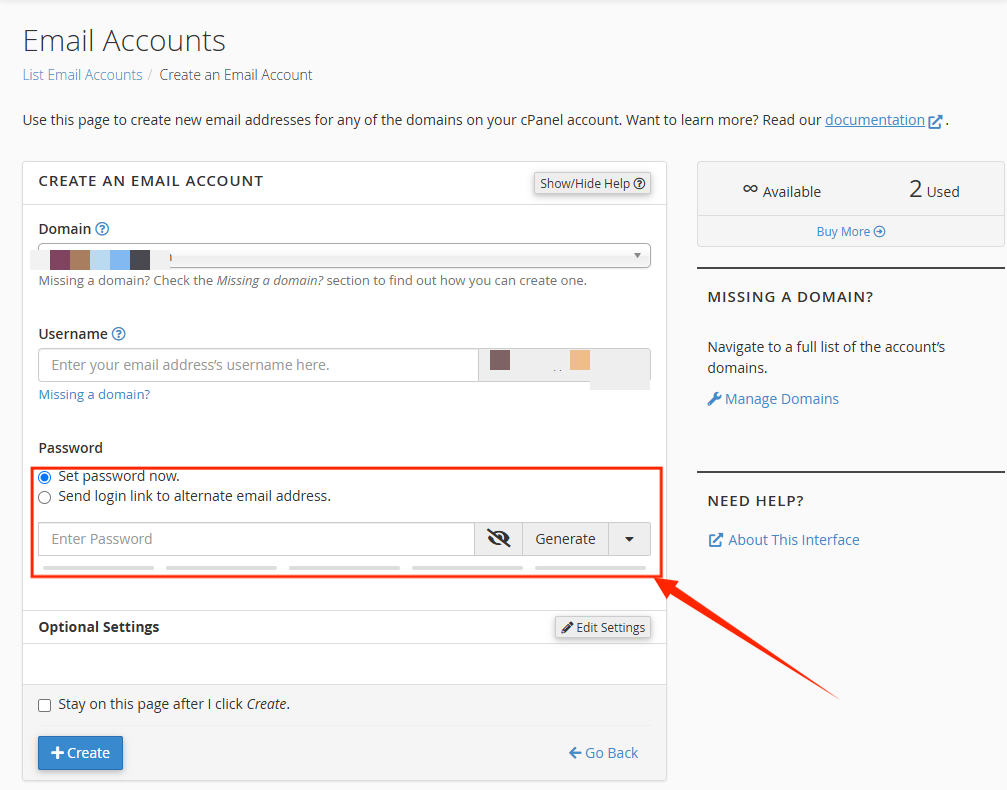
STEP 6: Enter a strong Password for the email account or you could use the Password Generator. This password will be required when setting up the email in a third-party email program or accessing it through webmail.
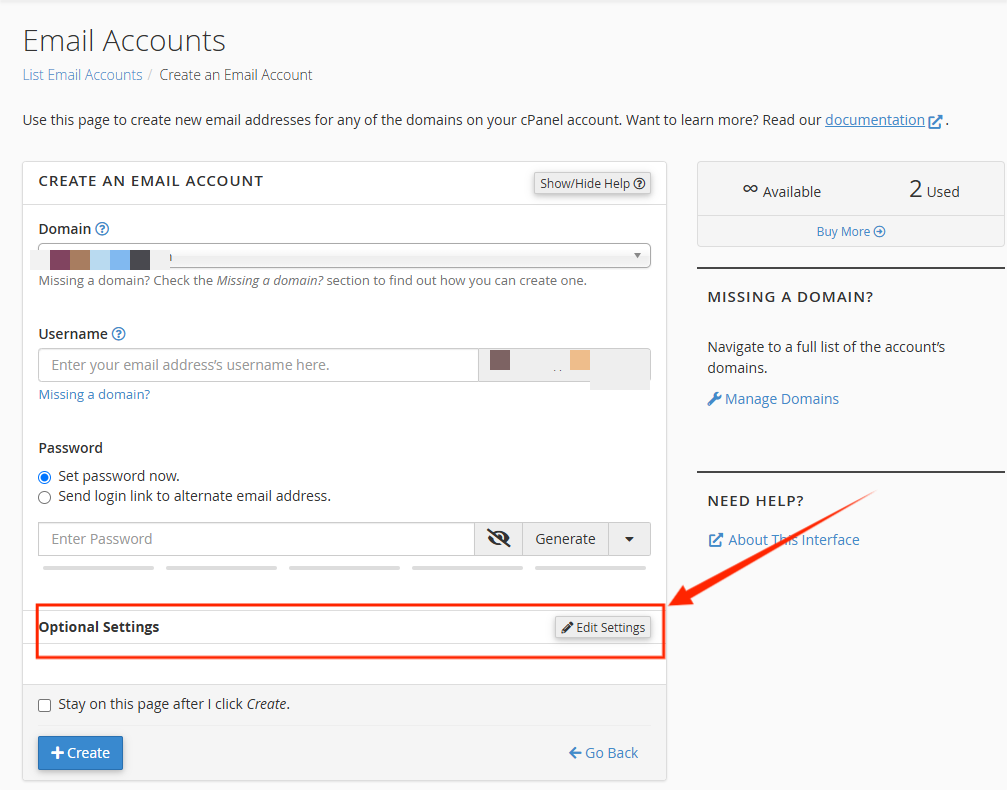
STEP 7: Next to Optional Settings, click Edit Settings to view more configuration options.
STEP 8: In the Storage Space section, you can either:
- Enter a custom mailbox quota size for the account, or
- Select Unlimited for unlimited storage.
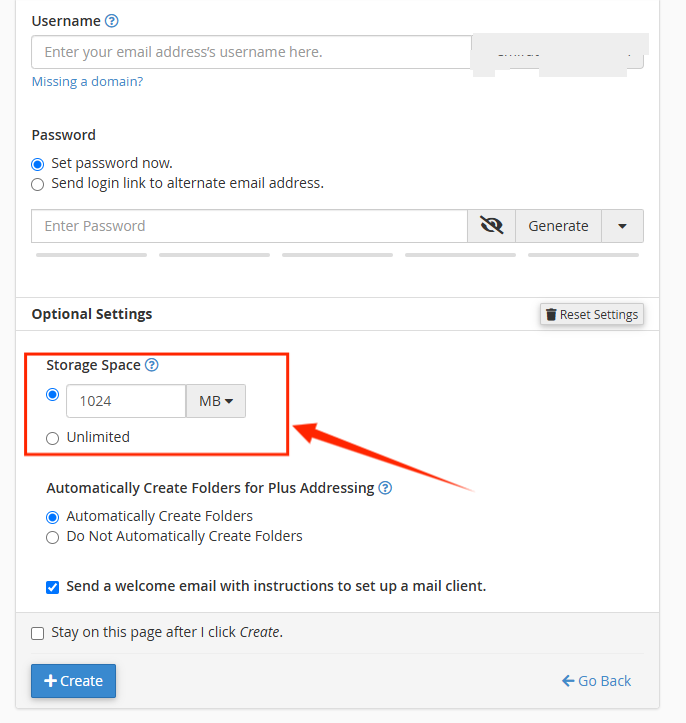
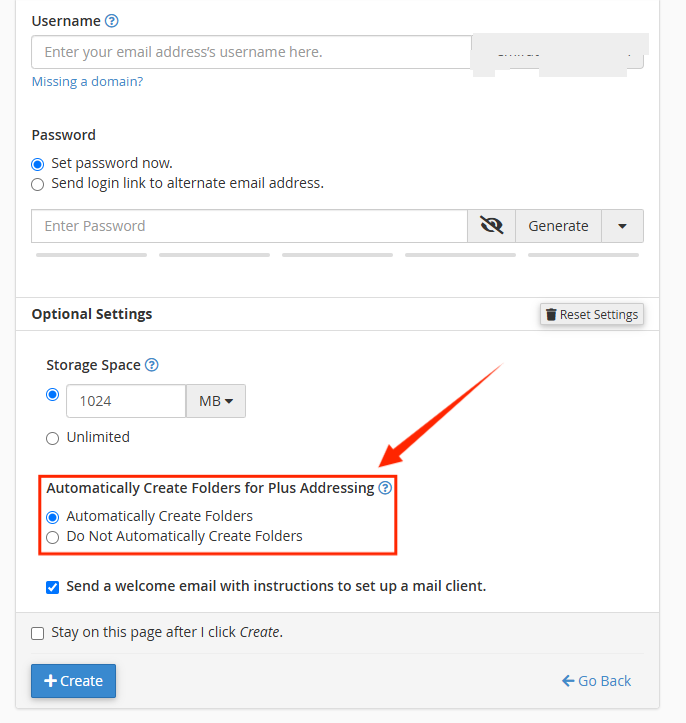
STEP 9: Check the box labeled Automatically Create Folders to automatically create folders for plus addressing.
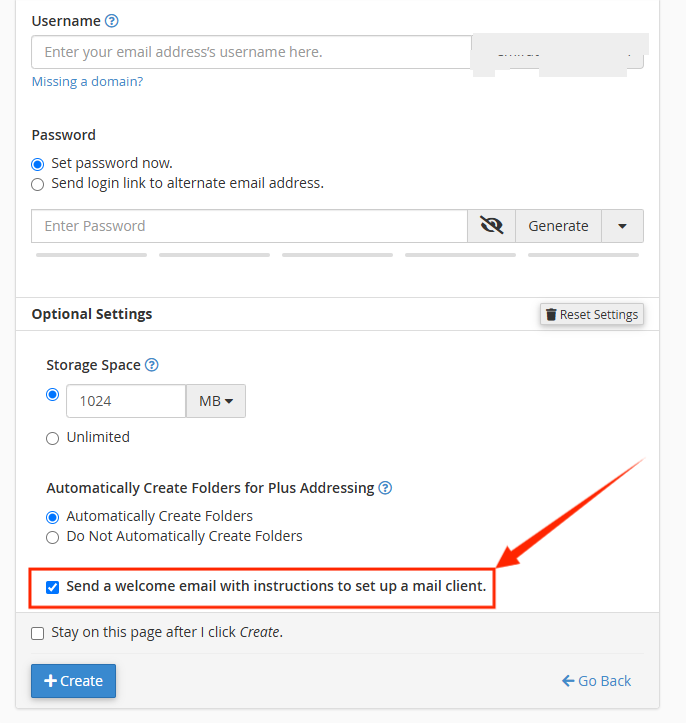
STEP 10: To send the user a welcome email with client configuration instructions, select ‘Send a welcome email with instructions to set up a mail client’ checkbox.
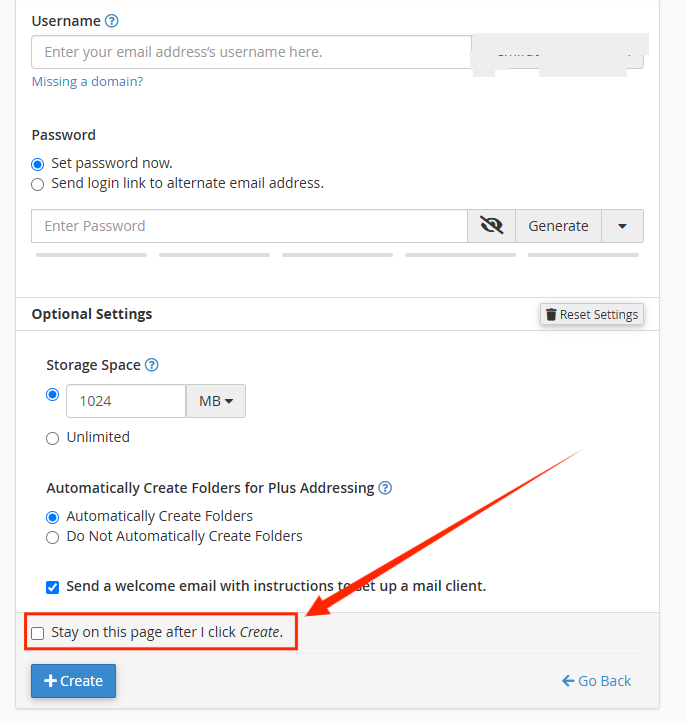
STEP 11: If you plan to create another email account after this one, check the box labeled Stay on this page after I click Create.
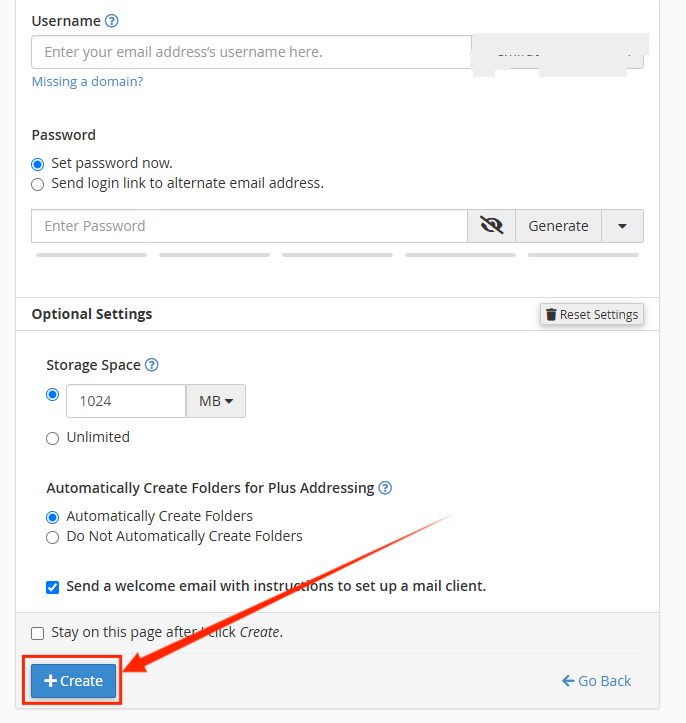
STEP 12: Once you've adjusted the settings, click +Create to finalize the account setup.
Steps to Delete an Email Account:
STEP 1: Within your cPanel, locate the Email section and click on Email Accounts.
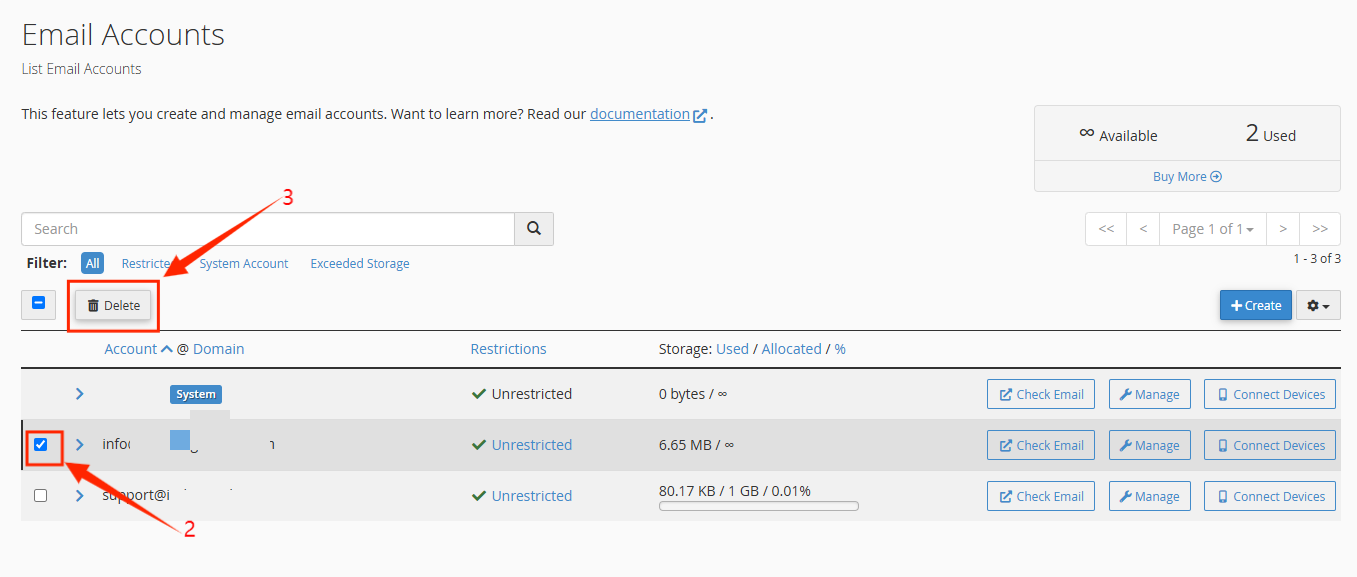
STEP 2: In the Email Accounts page, locate the email account you want to remove.
STEP 3: Select the email account and click on Delete.
STEP 4: A prompt will appear asking for confirmation. Click Delete to confirm that you want to permanently remove the email account.
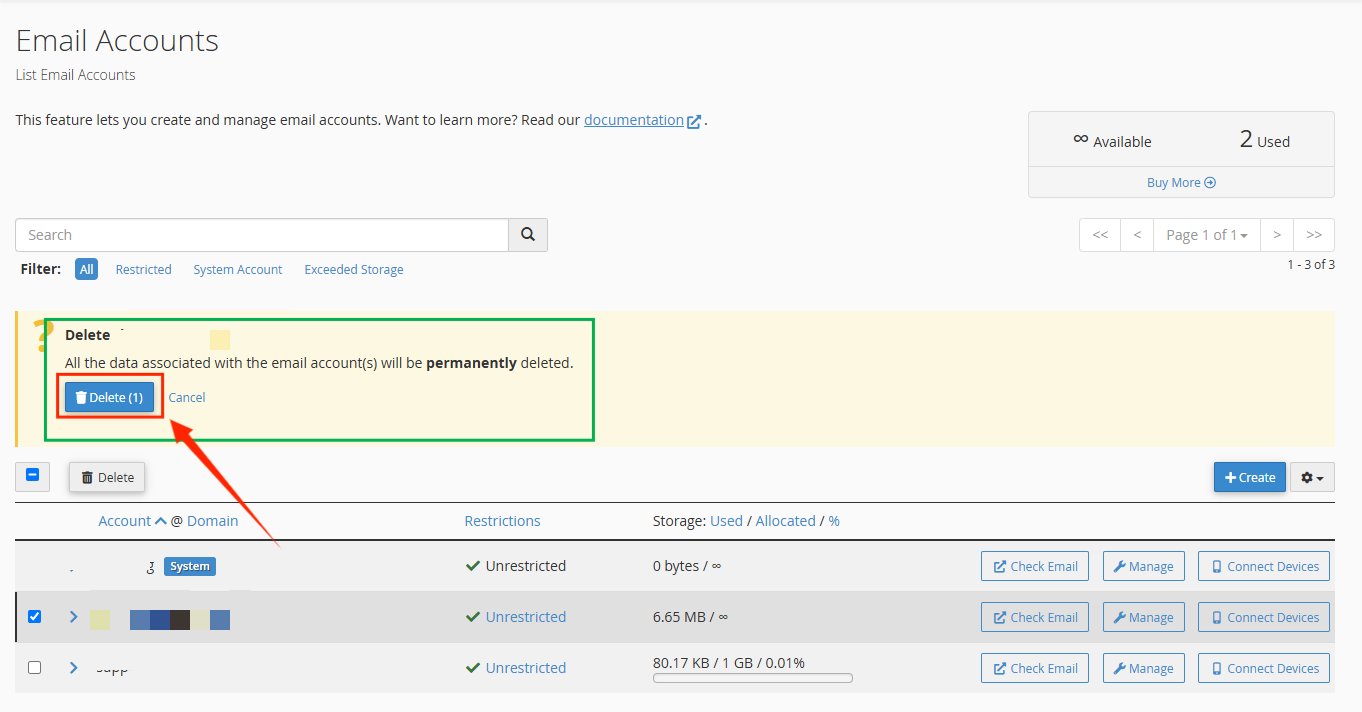
The email account will be deleted, and all associated data will be removed.


