When setting up email accounts in cPanel, users can specify the email quota (storage capacity) for each account. This quota can also be adjusted manually if a user anticipates a surge in incoming emails or is about to exceed the assigned limit.
While shared hosting plans offer unlimited disk space, bandwidth, and email quota, VPS and Dedicated hosting plans must ensure they stay within their designated resource limits.
How to Change an Email Account's Quota in cPanel (For Shared Hosting)
Follow the steps below to quickly and easily update the quota for an email account via the Email Accounts section in your cPanel.
You can access the Email Accounts section either by logging directly into your cPanel or through your Customer Portal.
Through cPanel;
STEP 1: Log in to cPanel.
There are three methods of accessing your cPanel.
- Method 1: Log into your cPanel directly.
- Method 2: Log into your cPanel through your through your Customer Portal.
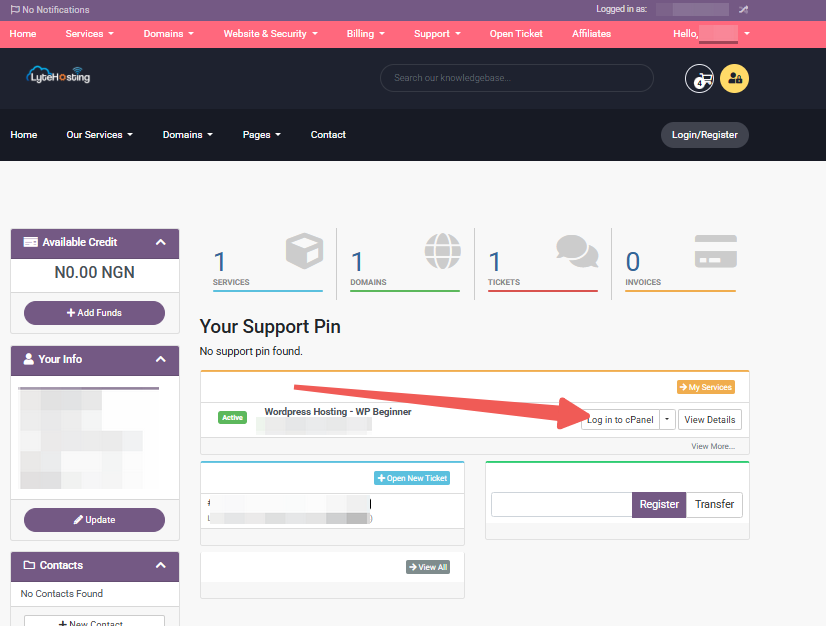
Through your Customer Portal;
- Log in to your Customer Portal.
- Click on "Log in to cPanel".
- Method 3: Log in using the details sent to your Email.
Through your Email;
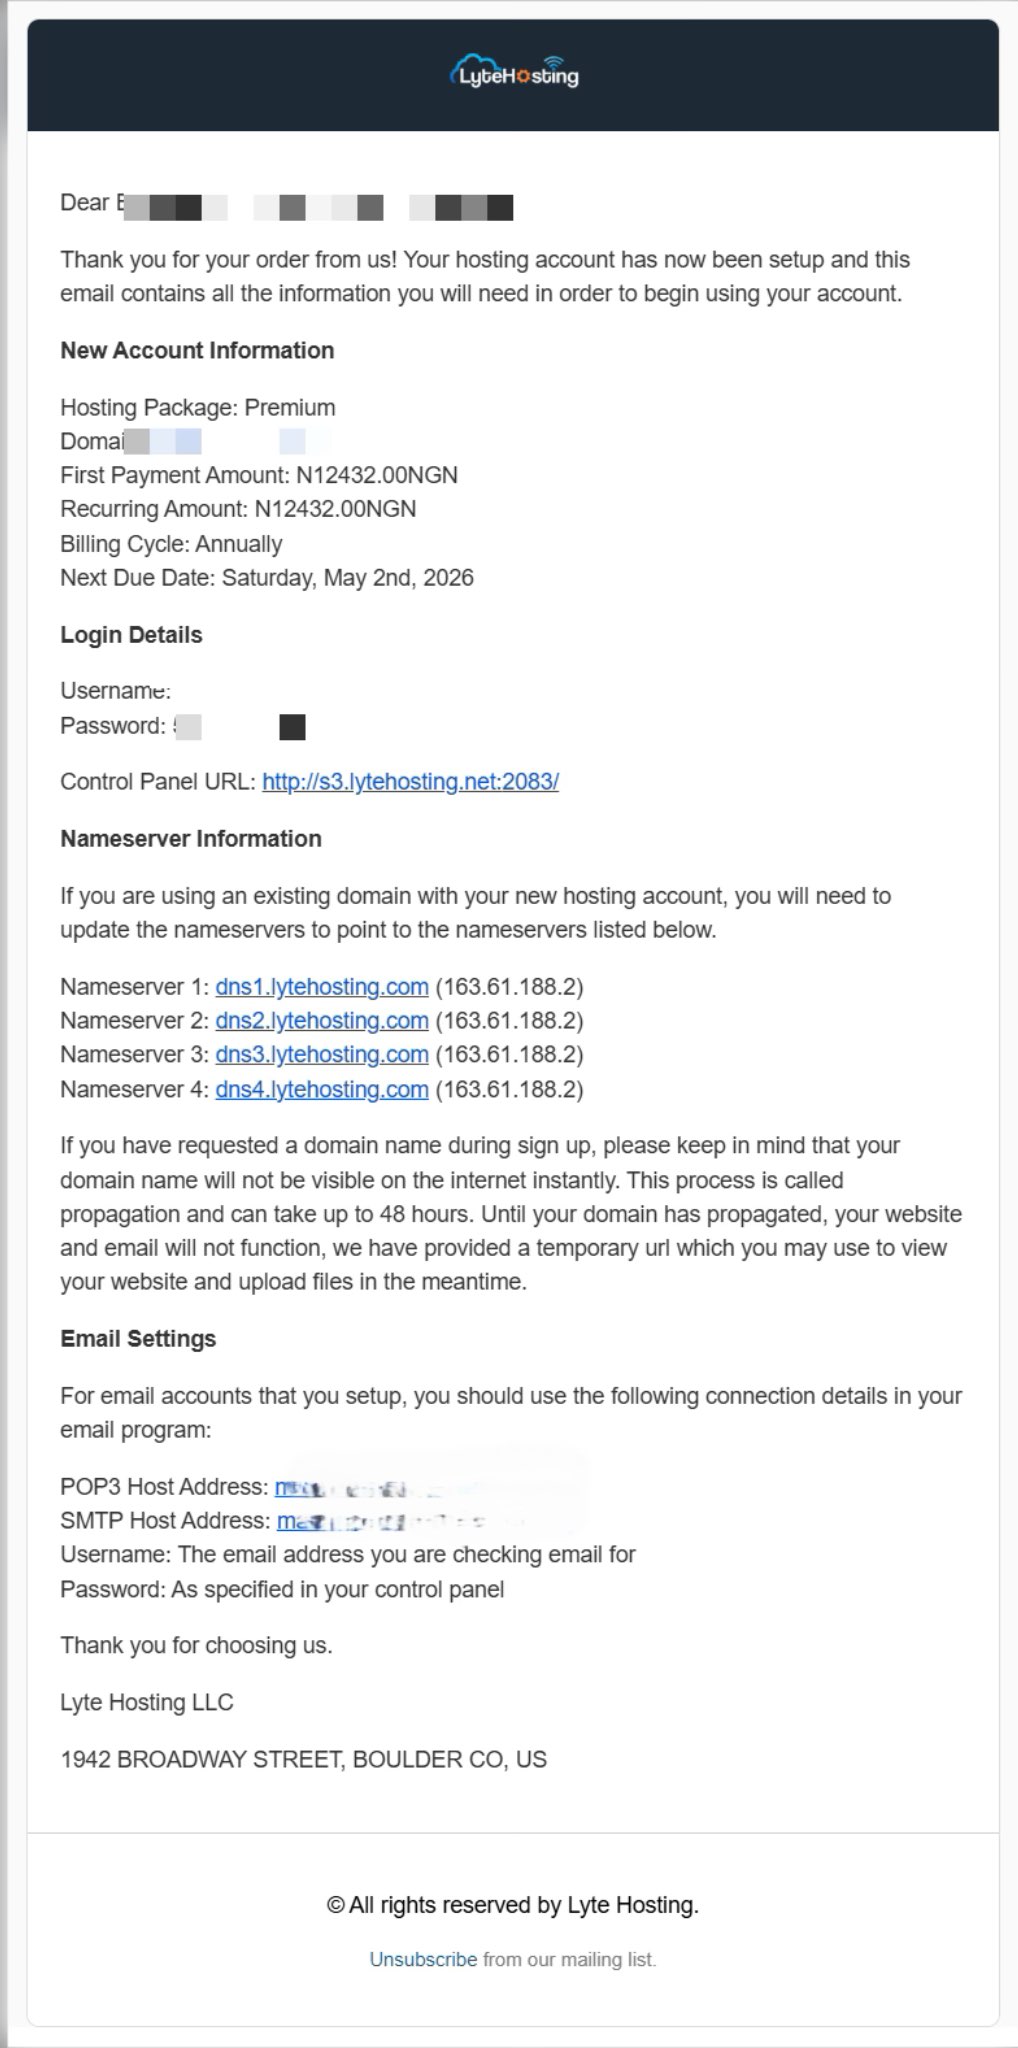
- When you purchase a hosting plan, your cPanel login details (including username, password, and cPanel URL) are automatically sent to your registered email address. Simply check your inbox (or spam folder), locate the email, and use the provided credentials to access your cPanel.
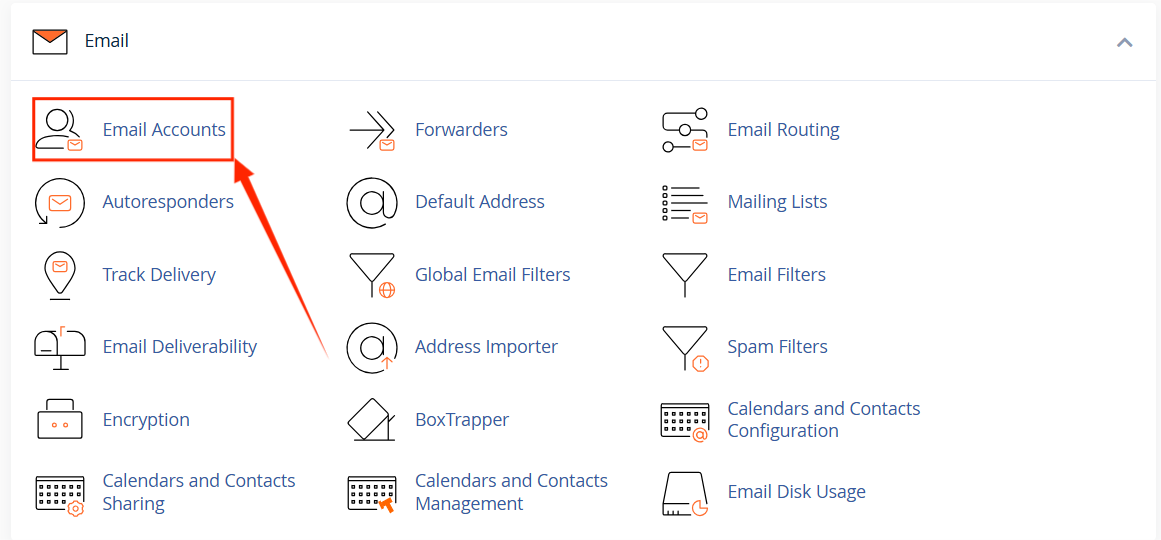
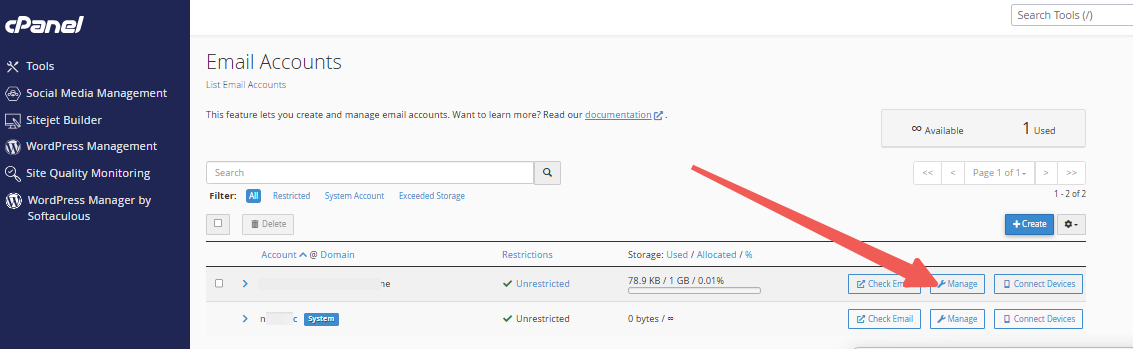
STEP 2: In the Email section, click on Email Accounts.
STEP 3: From the list, choose the email account you wish to manage.
Through your Customer Portal;
STEP 1: Log in to your Customer Portal.
STEP 2: In the dashboard, click on View Details under the Services tab in the main navigation menu. This will take you to a list of your active hosting services.
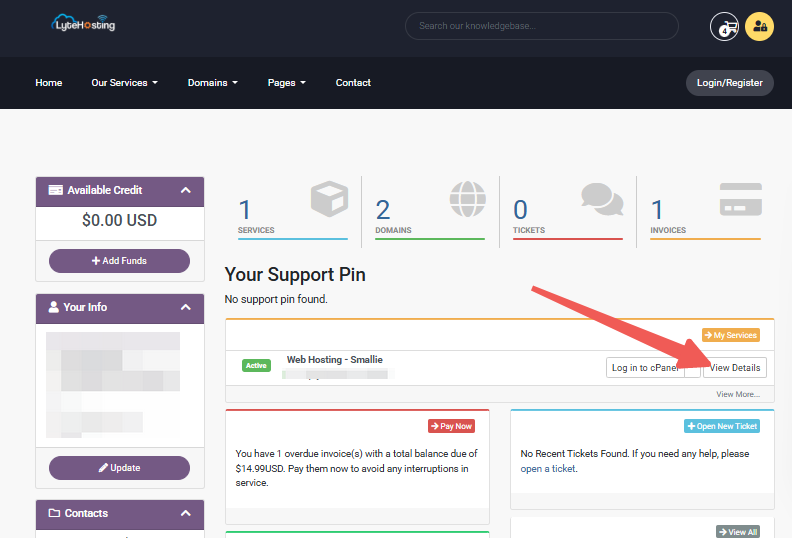
STEP 3: From the list of active services, locate the hosting account you wish to access.
STEP 4: On the service details page, look for the section labeled Actions, and click on the Login to cPanel tab. This will automatically log you into your cPanel account without needing to enter your cPanel username and password where you can access your cPanel.
STEP 5: You can also locate Quick Shortcuts, and click on Email Accounts to access your emails directly.
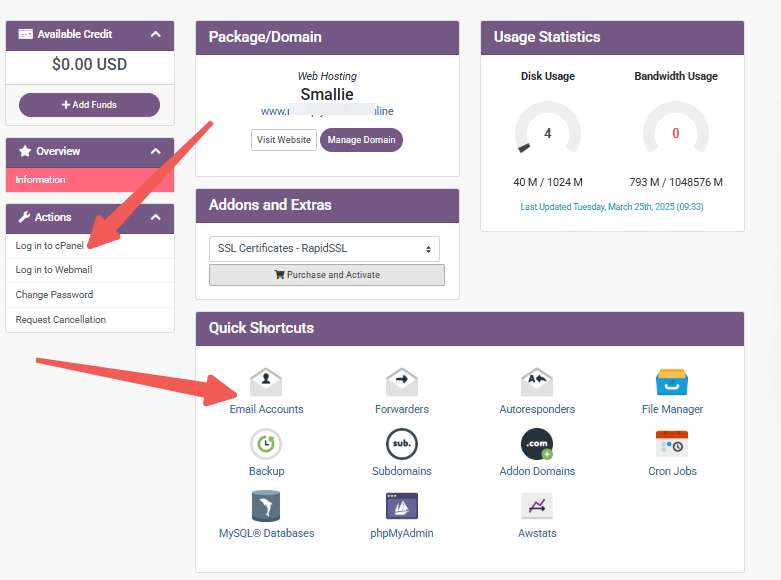
STEP 6: Locate the Email Account and click on Manage.
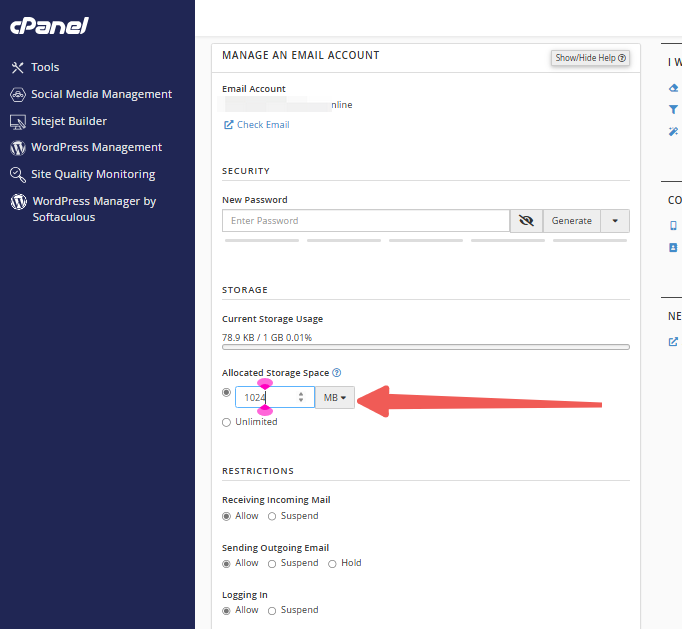
STEP 7: Go to the Allocated Storage Space section. Enter the desired quota or choose the Unlimited option.
STEP 8: Scroll down and click the Update Email Settings tab.
Once you've completed these steps, the changes to your Shared hosting will take effect immediately.


